Mini Gingerbread House Template
Small gingerbread houses from 2 inches wide: tiny houses for a village or place cards, and mug toppers that sit on the rim of a cup. Every piece is measured and cut for thin dough.
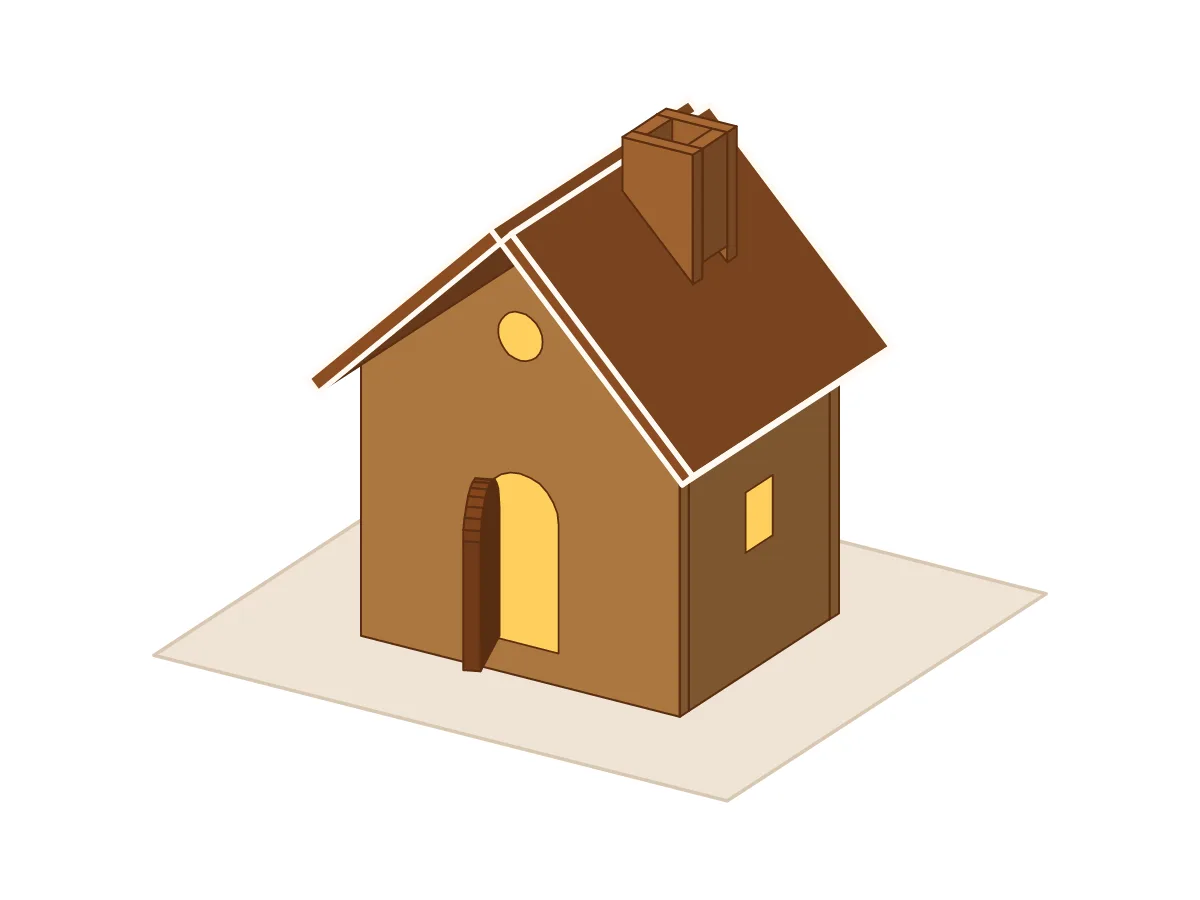
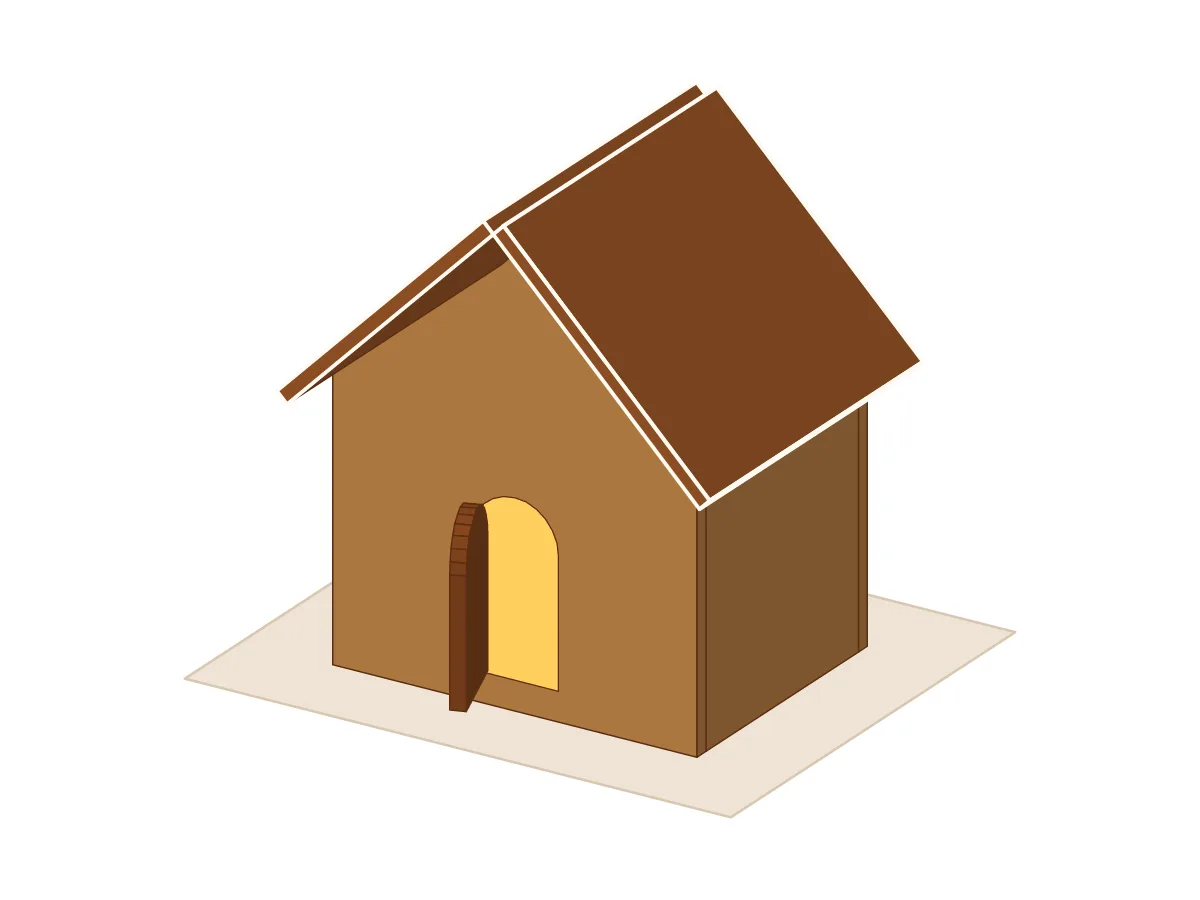
Assembled classic house, 2.5 × 2 × 2 inches
Print at 100% (Actual size). The check line should measure exactly 2 in5 cm.
Customize size
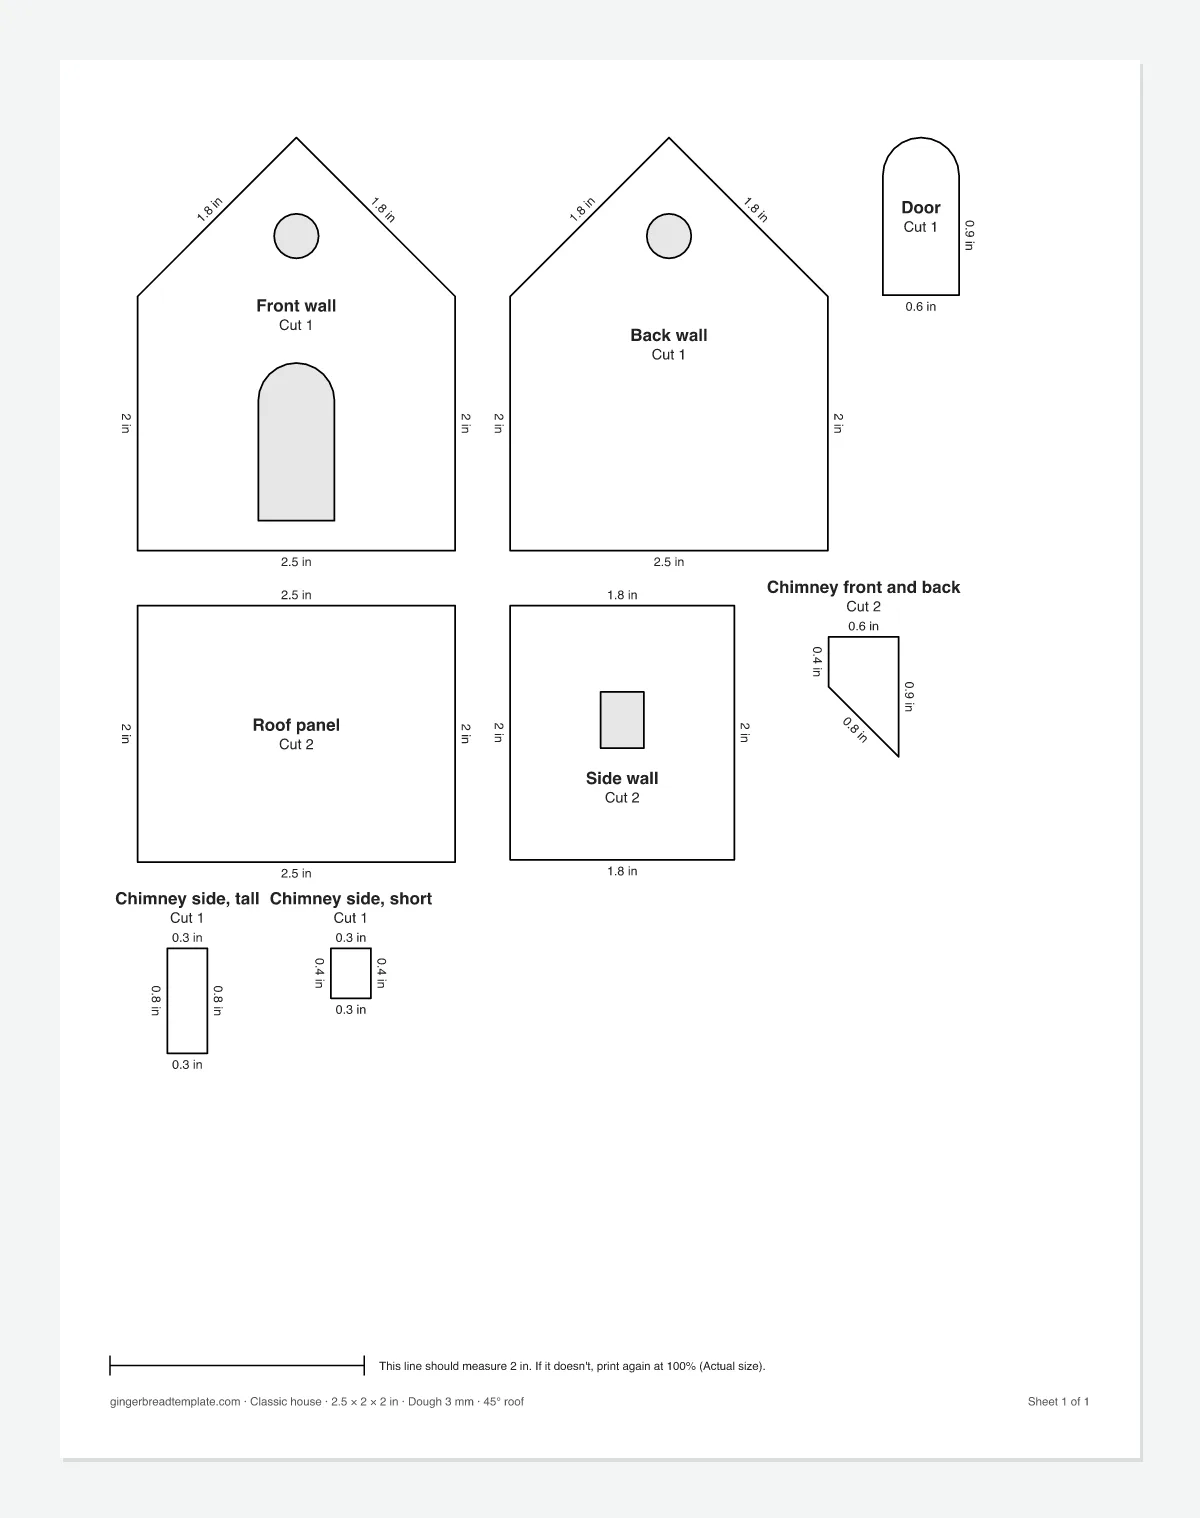
Mini house pieces and measurements
The Mini preset is 2.5 in6.4 cm wide, 2 in5.1 cm deep and has 2 in5.1 cm walls, rolled 3 mm thick. All 11 pieces fit on one sheet of Letter or A4, and the whole house takes about 3 oz (90 g)90 g (3 oz) of dough.
| Piece | Cut | Pattern size |
|---|---|---|
| Front wall | 1 | 2.5 × 3.3 in6.4 × 8.3 cm |
| Back wall | 1 | 2.5 × 3.3 in6.4 × 8.3 cm |
| Door | 1 | 0.6 × 1.2 in1.5 × 3.1 cm |
| Side wall | 2 | 1.8 × 2 in4.5 × 5.1 cm |
| Roof panel | 2 | 2.5 × 2 in6.4 × 5.1 cm |
| Chimney front and back | 2 | 0.6 × 0.9 in1.4 × 2.4 cm |
| Chimney side, short | 1 | 0.3 × 0.4 in0.8 × 1 cm |
| Chimney side, tall | 1 | 0.3 × 0.8 in0.8 × 2.1 cm |
| 11 pieces to cut from 8 patterns on 1 Letter sheet. | ||
- Dough
- You'll need about 3 oz (90 g)90 g (3 oz) of dough
- Board
- At least 4.5 × 4 in11.4 × 10.2 cm
Thin dough still needs the thickness correction: each side wall is 6 mm shorter than the house is deep. On a house this small, that is about a tenth of its length.
How to use the mini template
- Pick the Mini size, or type your own width under Customize size; the template goes down to 2 inches. Windows that would not fit on a very small wall are left out.
- Print at 100% and check the 2 in (5 cm) line.
- Roll the dough about 3 mm thick and cut with a small, sharp knife.
- Chill the cut pieces before baking, so the small openings keep their shape.
How to assemble a mini gingerbread house
Small walls are light, so a mini house needs little propping. A piping bag with a small round tip keeps the icing lines thin enough for walls this short.
- Print the template at 100% (Actual size) and check that the line on each sheet measures exactly 2 in. Cut out the paper pieces.
- Roll the dough on parchment to 3 mm (about 1/8 in). Lay the patterns on it, cut around them and pull the extra dough away rather than moving the pieces, so they keep their shape.
- Cut out the windows and the door. Chill the cut pieces on the baking sheet before baking so they spread less.
- Bake until the pieces are firm. While they are still warm, lay each pattern back on top and trim the edges with a sharp knife. Let the pieces cool completely on a flat surface.
- Make royal icing with meringue powder or pasteurized egg whites and beat it to stiff peaks. Frosting is too soft to hold up walls.
- Pipe icing along the bottom and side edges of the front wall and one side wall. Stand them on the board at a right angle, with the end of the side wall tucked behind the front wall. Prop them with cans or jars.
- Add the second side wall, then the back wall. The side walls fit between the front and back walls, so the house measures exactly 2.5 in by 2 in on the outside.
- Let the walls set for at least 30 minutes, an hour if you can, before the roof goes on.
- Pipe icing on the sloped edges of the front and back walls and the tops of the side walls. Press on one roof panel, then the other, and hold them in place for a minute. The panels meet at their bottom edges, so fill the small V-shaped gap along the ridge with icing.
- Put the chimney together as a box on the work surface: the front and back pieces outside, the short side between them on the uphill end. When it has set, ice it onto the right side of the roof. The slanted bottom edges match the roof pitch.
- Ice the door to one side of the opening so it stands slightly open.
- Let the house dry for a few hours or overnight before you decorate.
What you'll need
- Rolling pin with thickness rings on Amazon (opens in a new tab)The rings roll the dough to the same thickness everywhere, which is the thickness the template is cut for.See on Amazon
- Meringue powder on Amazon (opens in a new tab)For royal icing without raw egg whites.See on Amazon
- Piping bags and tips on Amazon (opens in a new tab)A small round tip draws the glue lines along the walls and the icing on the roof.See on Amazon
- Cake board on Amazon (opens in a new tab)A firm base about 2 inches bigger than the house each way, so you can move it when it is done.See on Amazon
- Gingerbread cookie cutters on Amazon (opens in a new tab)Trees, people and stars from the leftover dough, to stand around the house.See on Amazon
- Gingerbread house kit on Amazon (opens in a new tab)Pre-baked walls and roof, if you would rather skip the baking this year.See on Amazon
gingerbreadtemplate.com is a participant in the Amazon Services LLC Associates Program, an affiliate advertising program designed to provide a means for sites to earn advertising fees by advertising and linking to Amazon.com.
Mug toppers
A mug topper is a mini house that sits on the rim of a mug, with a doorway cut into the front and back walls for the rim to pass through. Turn on Mug topper under Customize size, and the front and back walls get arched openings at the bottom in place of the door.
Enter the thickness of your mug's rim; it starts at 6 mm. The openings are cut wider than the rim because the rim curves and crosses the walls at an angle. Try the house on your mug before the icing sets, while you can still adjust it.
A village of small houses
Several mini houses on one board make a village. Each one fits on a single sheet, so print a few with different settings: a classic house, a steep A-frame, a tiny church with a short spire. Keep the same dough thickness for all of them and they can share one batch of dough.
Mini houses also work as place cards: pipe a name on the roof, or stand a small card in the door opening.
FAQ
How small can a gingerbread house template be?
The smallest width is 2 inches. Each window has to stay at least twice the dough thickness from the edge, so if you make the walls tiny or the dough thick, windows that would not fit are left out and the preview tells you.
What is a gingerbread mug topper?
A small gingerbread house with openings in its front and back walls, so it sits on the rim of a mug of cocoa or coffee. Turn on Mug topper in the generator to get them.
How thick should the dough be for mini houses?
The Mini preset uses 3 mm, a usual thickness for mug toppers. If you roll thicker, enter the new thickness so the walls still meet.
Do mini houses need a chimney?
It is on by default but optional. At this size the chimney pieces are small, so turn it off under Customize size if you want fewer pieces to cut.
More gingerbread house templates
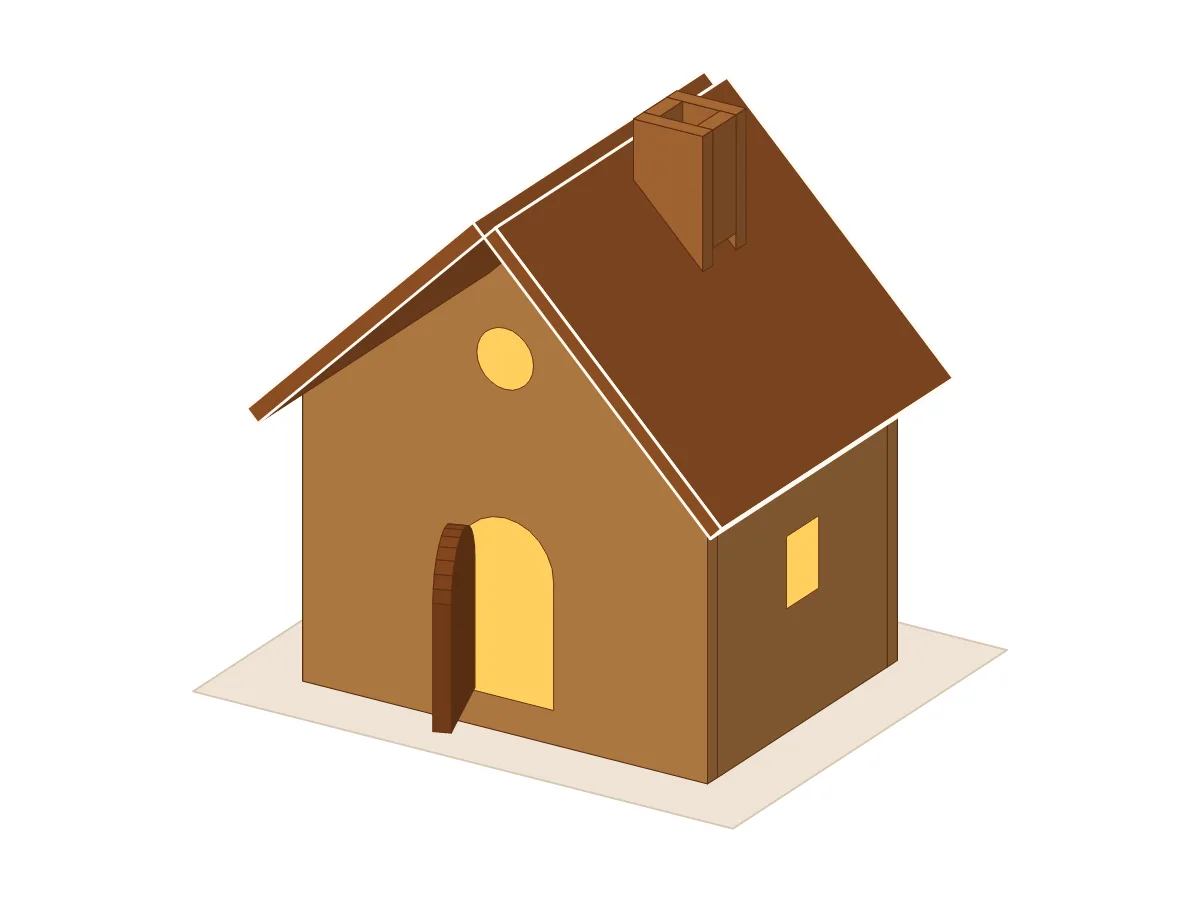 Gingerbread house templateThe classic house with a pitched roof, a door and a chimney. Any size.
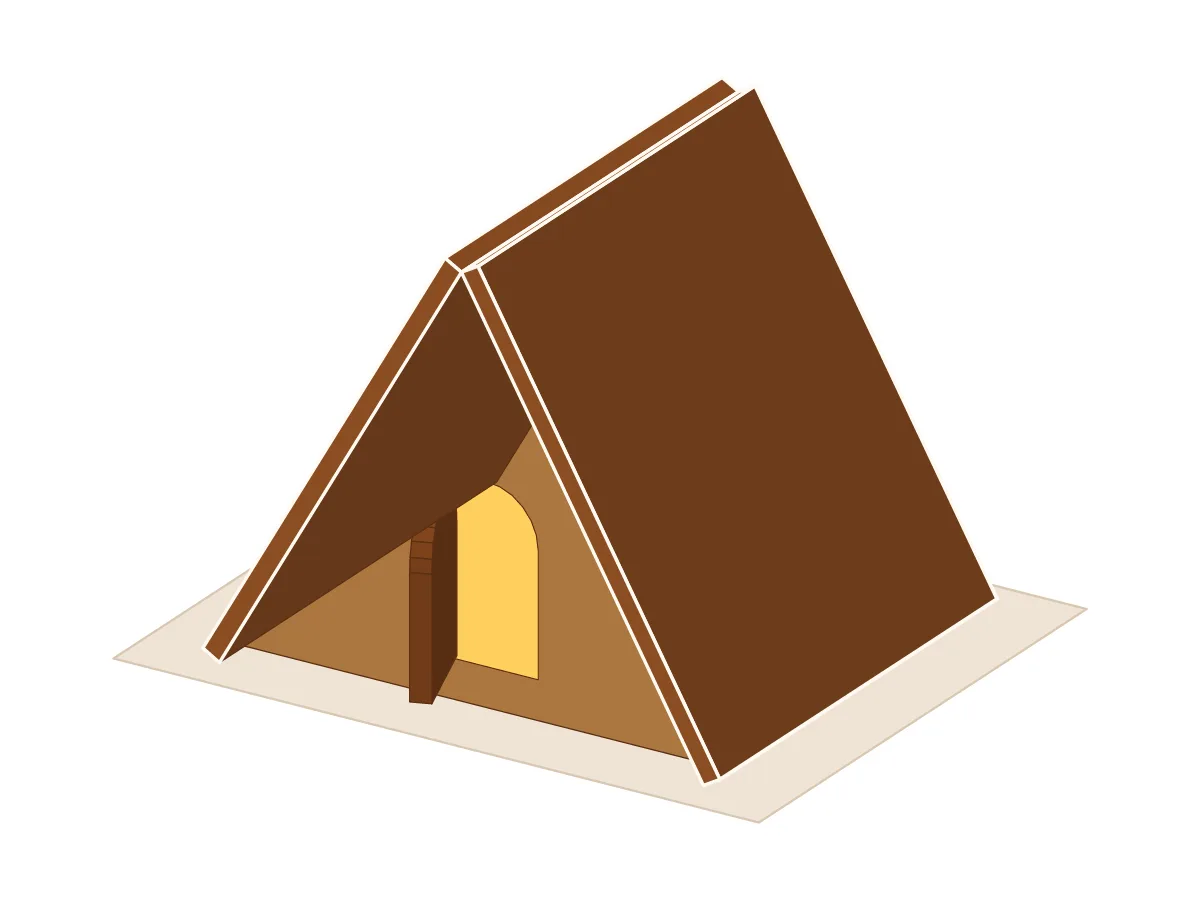 A-frame gingerbread houseTwo triangles and two panels that are both roof and walls.
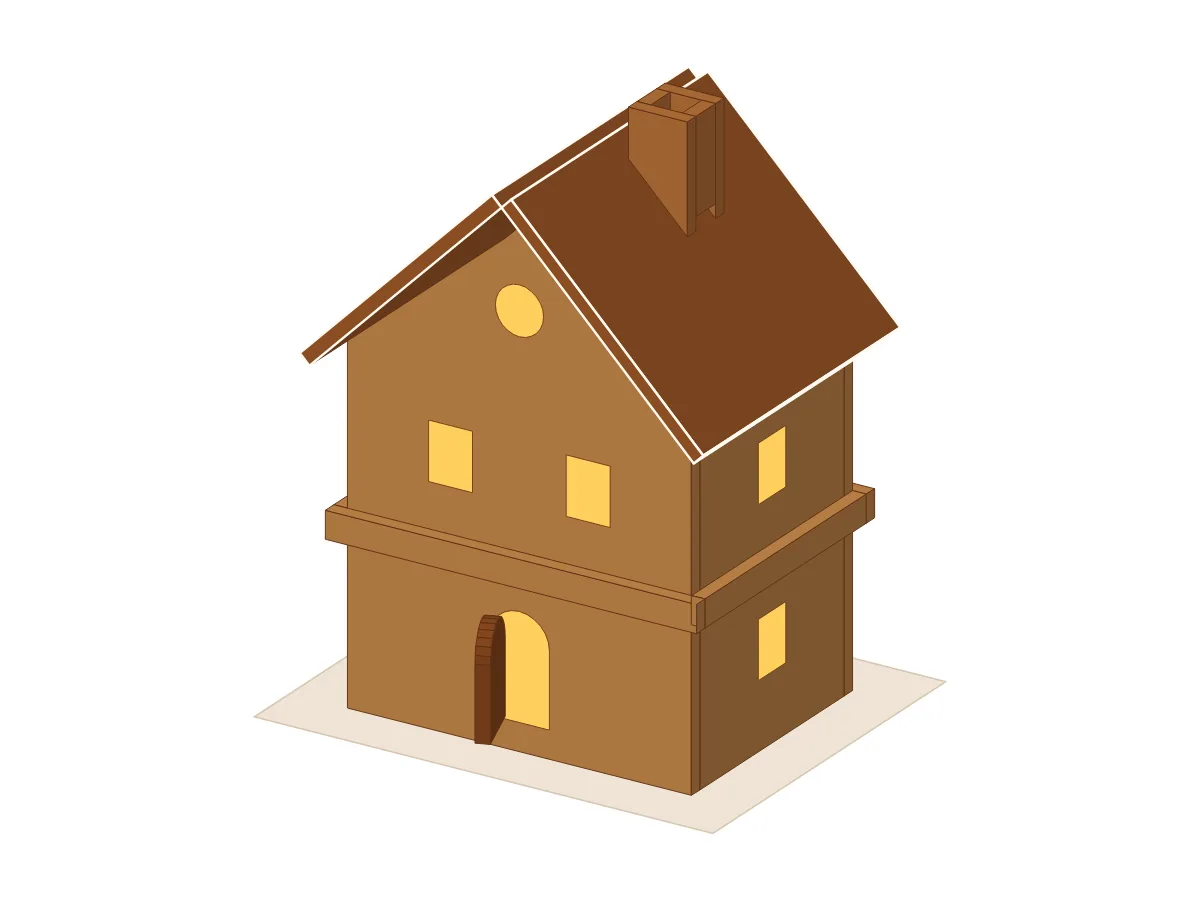 Two-story gingerbread houseTall walls, two rows of windows and a band between the floors.
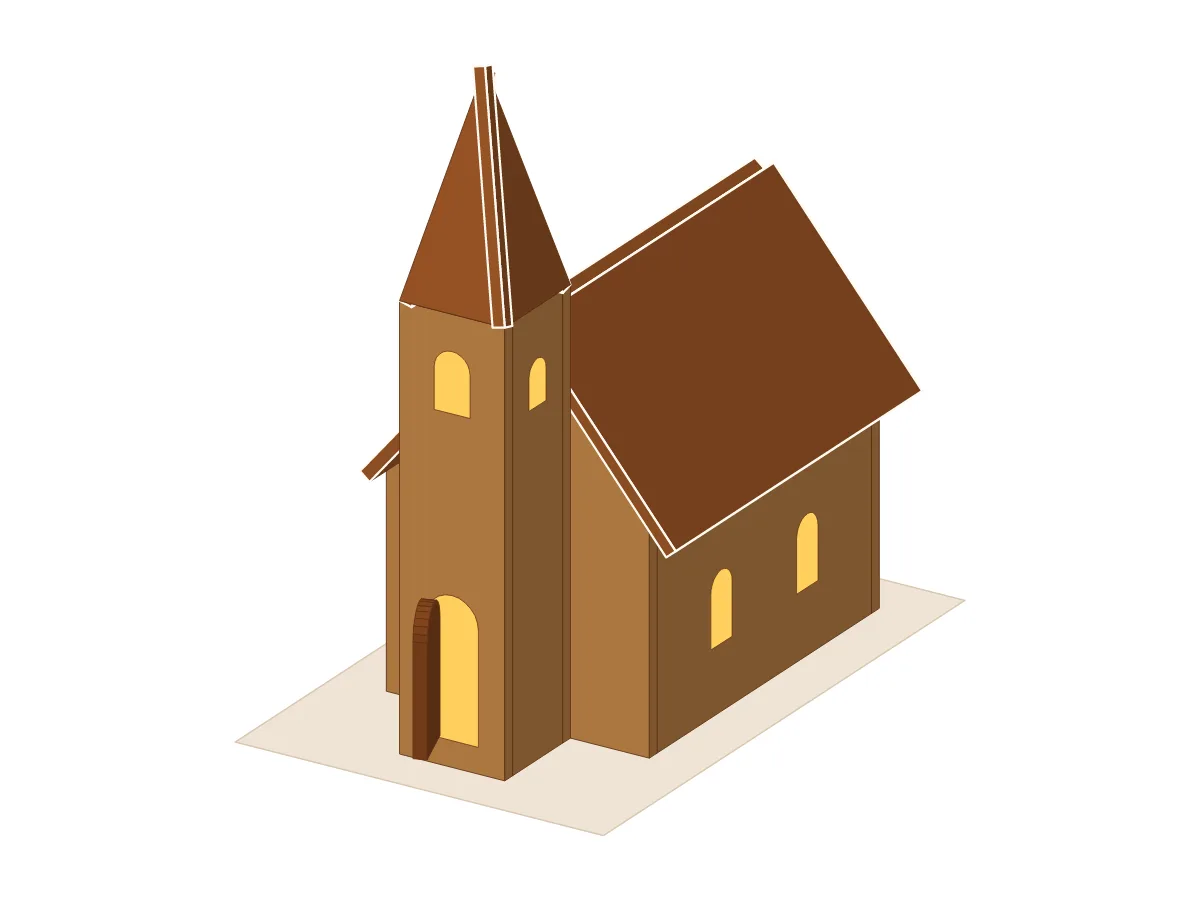 Gingerbread churchA long nave, a square tower in front and a four-sided spire.
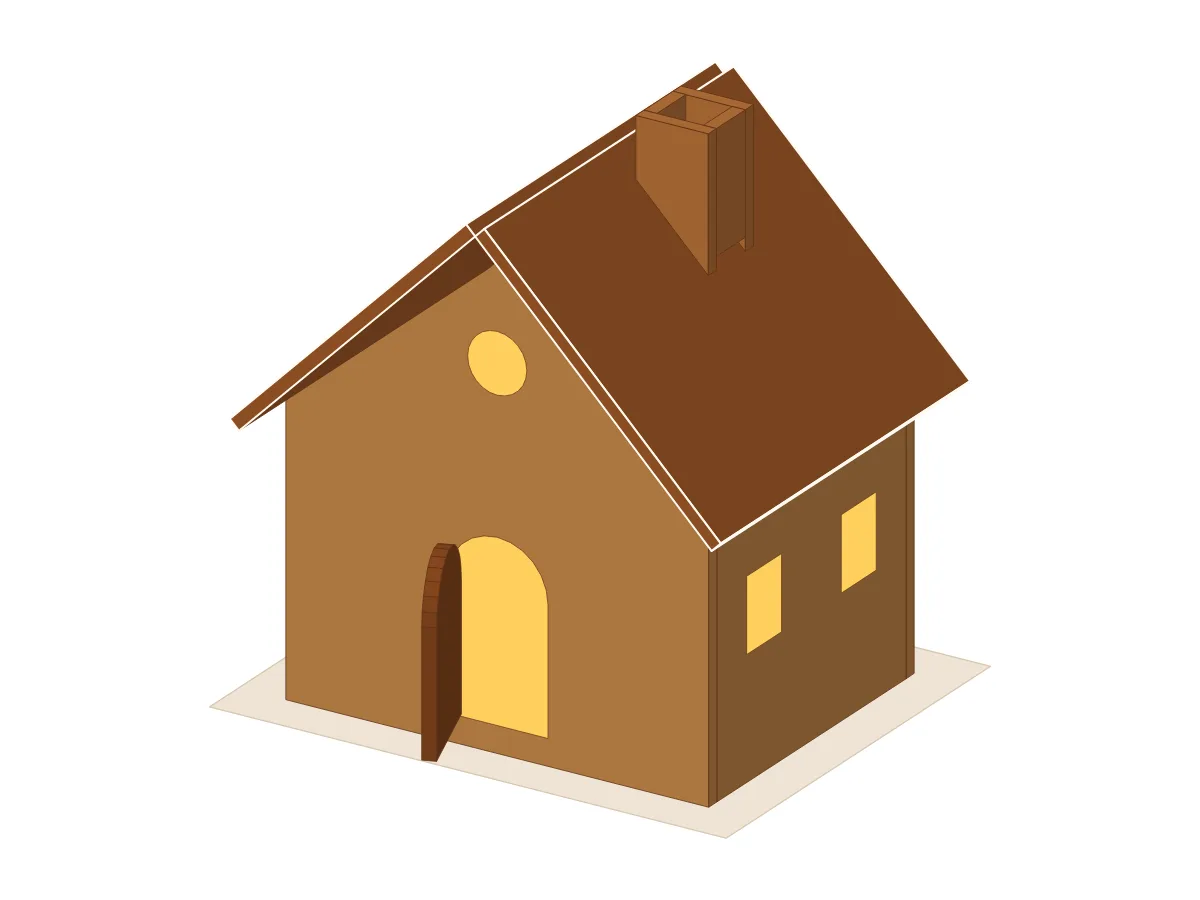 Large gingerbread houseA 9-inch house with thicker dough and an inner brace for the roof.
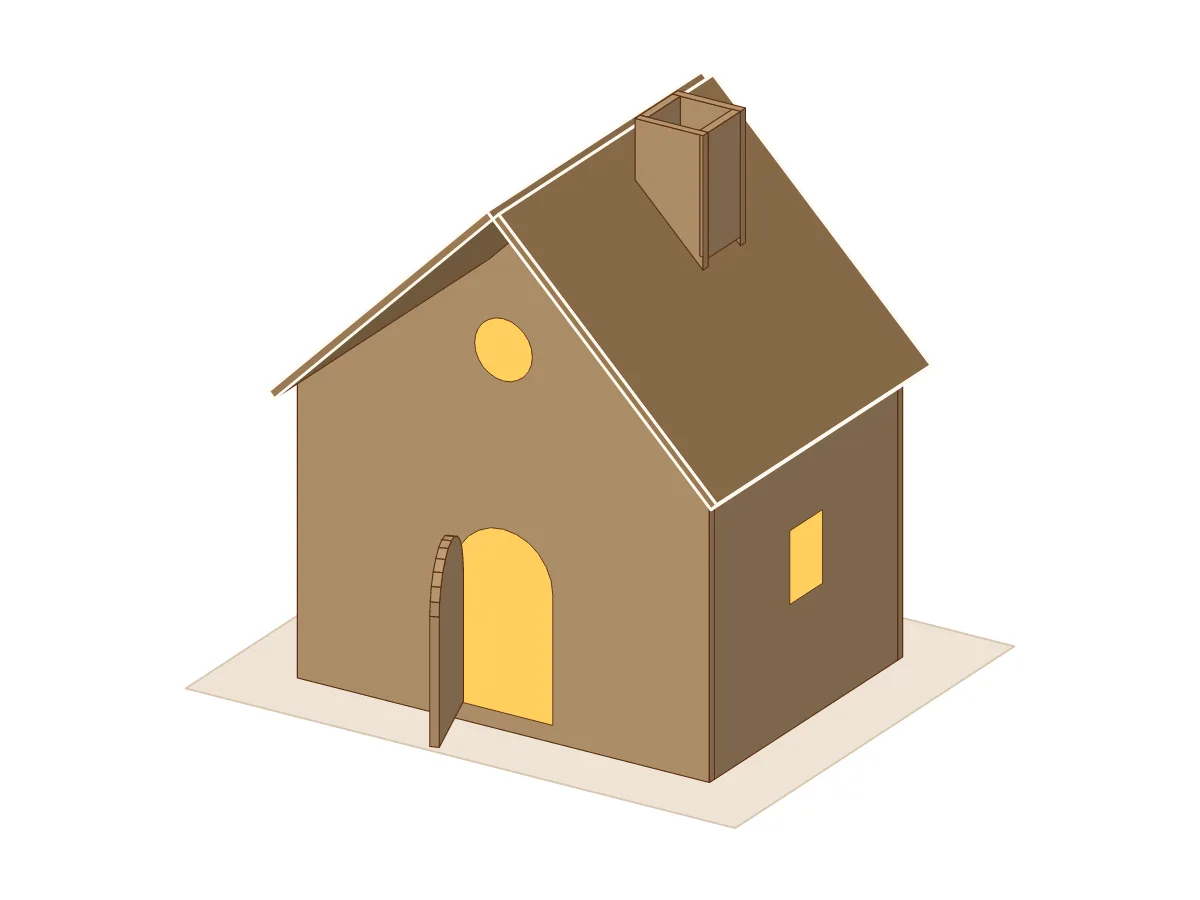 Cardboard gingerbread houseFor 3 mm cardboard, with a folded roof. Decor you can keep.
 Easy gingerbread houseA small house with five patterns to cut and no chimney.